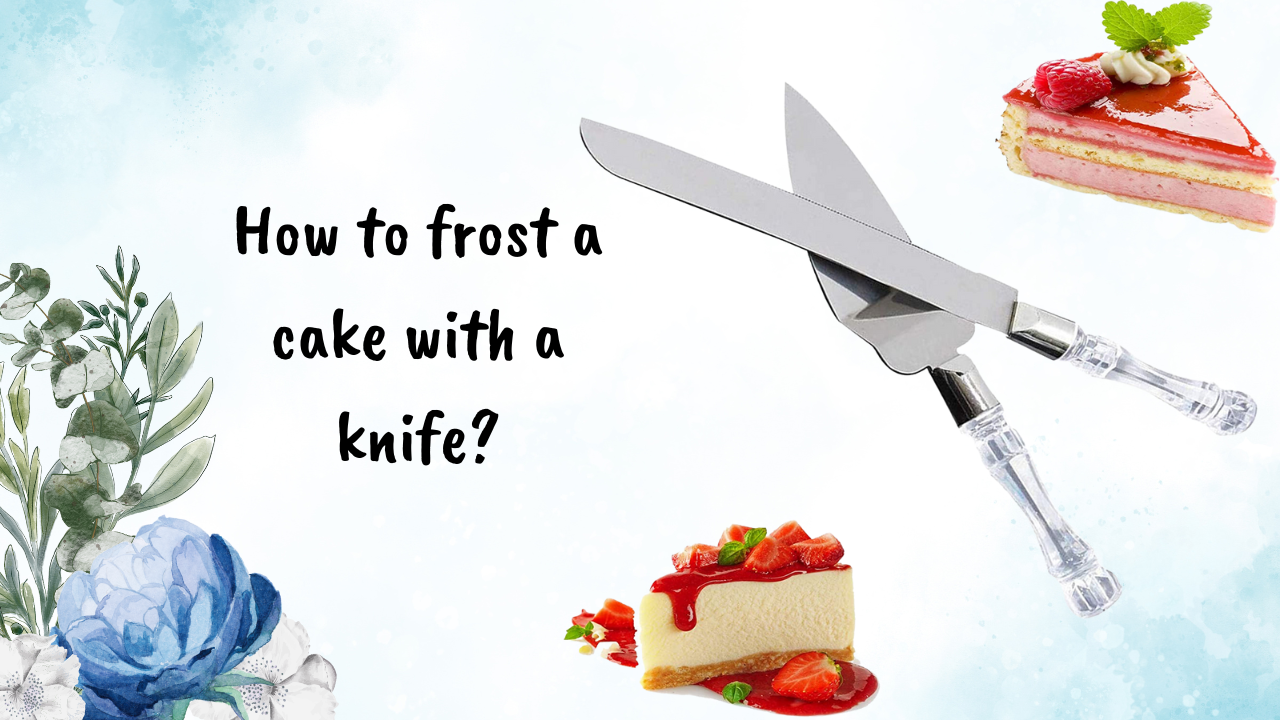
Frosting cake with a knife may seem like an easy task, but it requires precision and skill to achieve a professional-looking finish. In this blog post, we’ll guide you through the steps on how to frost a cake with a knife. We’ll cover all the essential tips and tricks to make your cake look like it was done by a professional baker. So let’s get started!
How to prepare your cake for frosting?
Here are some recommended steps:
1. Allow the cake to cool completely before applying any frosting or decorations.
2. Level the cake by trimming off any domed or uneven parts with a serrated knife.
3. Brush off any loose crumbs with a pastry brush or clean, dry towel.
4. Apply a thin layer of frosting, also known as a crumb coat, to seal in any crumbs and create a smooth base for the final layer of frosting.
5. Refrigerate the cake briefly to allow the crumb coat to set.
6. Apply the final layer of frosting using an offset spatula or piping bag, working from top to bottom and smoothing out any air bubbles or imperfections as you go.
Which tools are needed for frosting cake with a knife?
Some essential tools for frosting a cake with a knife include:
1. A long, flat knife: The blade of the knife should be smooth and straight, with no serrations or teeth, to create a smooth and even frosting layer.
2. A turntable: This rotating platform allows for easy access to all sides of the cake while frosting, ensuring an even layer of frosting on each side.
3. Offset spatula: An offset spatula is a handy tool that helps reach difficult areas such as corners and edges.
4. Piping bag: A piping bag can be used to add decorative details or patterns to the frosted cake.
Using these tools in combination with a steady hand and patience will help you achieve professional-looking results when frosting your cake with a knife.
How to smooth out the frosting using a bench scraper or offset spatula?
To smooth out frosting using a bench scraper or offset spatula, start by applying a thick layer of frosting to the cake. Hold the bench scraper or offset spatula at a slight angle against the side of the cake and slowly rotate the cake while holding the tool steady. This will help create a smooth, even layer of frosting on the sides of the cake. With practice, you can achieve a professional-looking finish that is sure to impress your guests.
Common mistakes to avoid when frosting a cake with a knife.
To ensure that your cake looks as good as it tastes, it is important to avoid common mistakes. One of the most common mistakes people make when frosting a cake with a knife is applying too much pressure, which can cause the cake to crumble or break. Another mistake is not allowing the cake to cool completely before frosting it, which can cause the frosting to melt and become runny. Additionally, using an uneven or dull knife can result in an uneven and unprofessional-looking finish. By following these tips and avoiding common mistakes, you will be able to create a beautifully frosted cake that will impress your guests.
Conclusion:
Frosting a cake with a knife is a simple and effective way to create a smooth and professional-looking finish. By following the steps outlined in this blog, you can easily master this technique and impress your guests at your next event.

Hi! I am Deb Lewis. I am a knife lover and for that, I have launched knifetor. Knifetor is the best place to find reviews on kitchen knives Learn about brands, styles, materials, and more to help you choose the knife.